DIY Linoleum Cut Stamps
I have always admired woodcuts, pieces of art that reflect so many small precise cuts, the absence of material revealing the image. When I first learned how to create this art form, I fell in love. After the initial design process, there is very little “thinking” to do, and it lets your mind un- wind as you focus on the handiwork in front of you. Plus it is great to use as a custom label for jars and other edible gifts.
For this project you will need a few specific tools. The great thing is that they are small and affordable, and chances are that, once you get in the hang of making stamps, you will want to use them again and again.
• Linoleum cutter (I got mine from our local arts store, Reddi-Arts, for less than $15.)
• A piece of linoleum
• A brayer (a rubber roller for spreading your ink)
• Tracing paper
• A pencil (and eraser!)
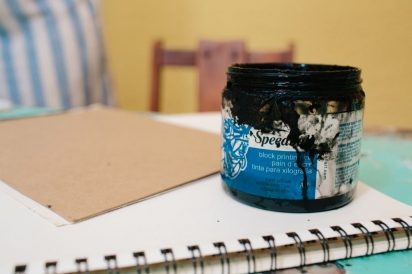
• Ink, specifically for printmaking
• Paper
• A hard surface you don’t mind getting covered in ink (I have a clipboard reserved for this job.)
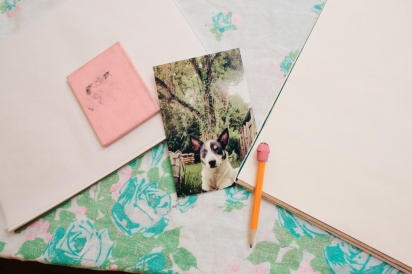
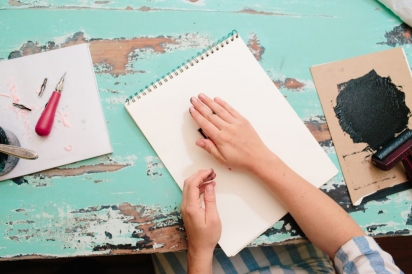
Start by choosing the size of your linoleum, preferably something no bigger than five inches by seven inches, so that you will be able to finish it in one day. Once you have the size of your linoleum, you can get to work drawing your design. Start by tracing the size of your linoleum onto your tracing paper. These are now your confines for drawing within.
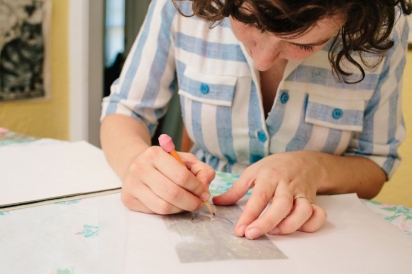
Using your pencil, draw your design on the tracing paper. Keep in mind that thick lines are easier than thin ones when it comes to carving your linoleum, and small details can be added in later steps. So start with something simple that you love. A beet, the profile of your cat, your initials and a flower!
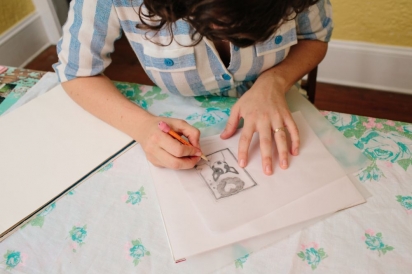
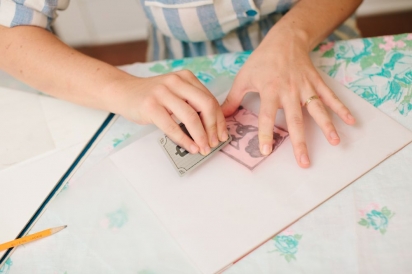
So now you have your design. It should be colored in with heavy pencil marks so that you can transfer it onto your linoleum. To do this, place your design (the side you have drawn on) against the better-looking surface of the linoleum, lining up the edges of the image with the edges of your linoleum. I use the edge of a credit card to scrape the back of the tracing paper. Do not let your image shift. Go over the back of the tracing paper a couple of times, until you are confident you have transferred your image.
As you pull back your tracing paper you should see your image clearly on the linoleum. Yay! Your image will appear backwards, which is exactly what you want (especially if you have included letters).
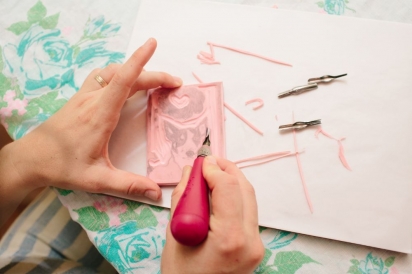
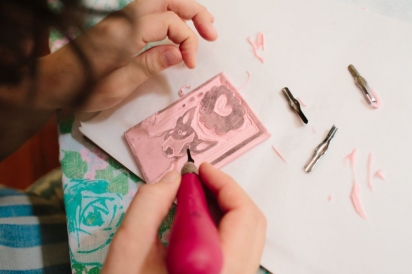
Imagine which part of your design you would like to see printed in ink (what is drawn in pencil or what is blank) and carve around that. What you will be carving out is your negative space.
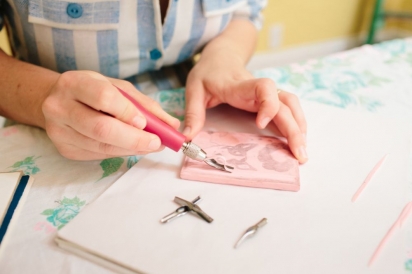
This is where the process gets a little mesmerizing. Keep in mind these things while carving away your negative space:
1. Carve away from your body, and especially away from your fingers.
2. You do not need to carve deeply to create your design. Shallow cuts give you more control over your tool and do the job.
3. Carve less rather than more. You can always carve more later.
4. Use the appropriate tool edge for the job. I start by using the wide “U” blade to carve out the big negative spaces, and then hone in on the more detailed areas with the appropriate smaller blades.
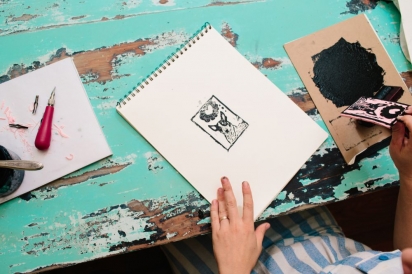
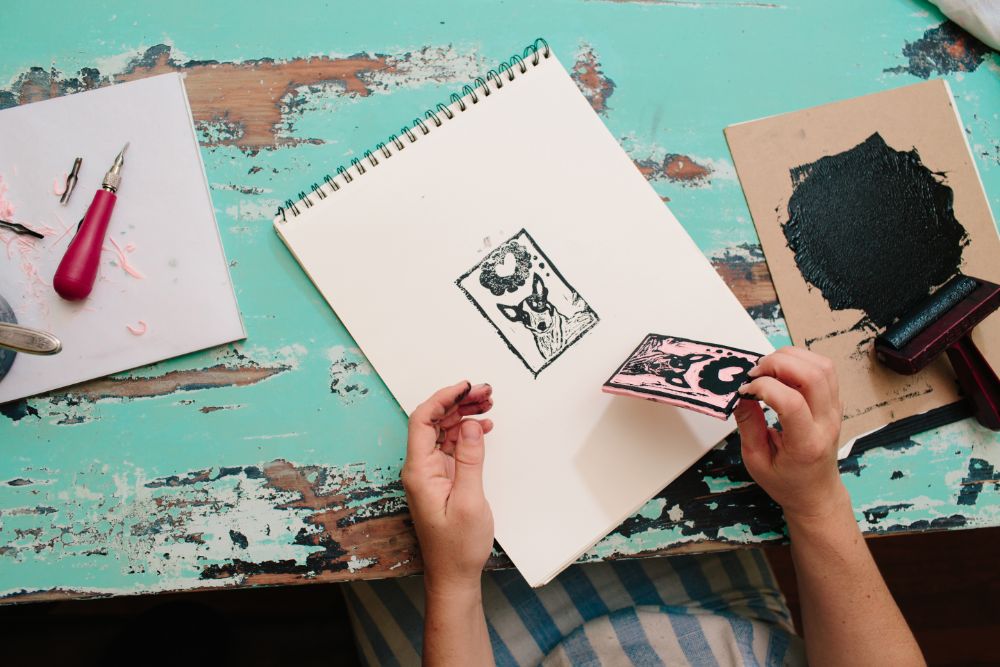
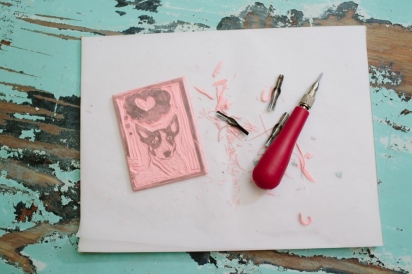
Once you have your design carved out, you can print it onto paper. This does not have to be your final product. I often use this first print to see where I would like to add more details and refine my lines.
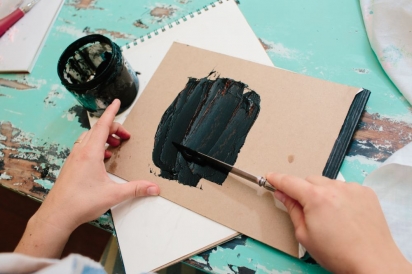
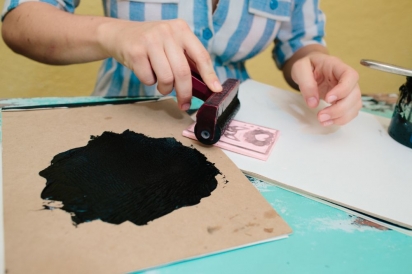
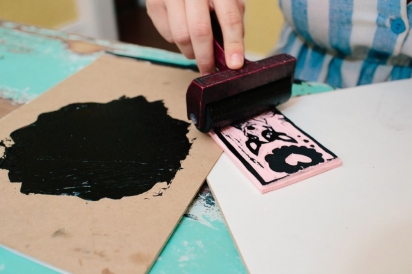
To print the image, place about a spoonful of ink onto the hard surface. Use the brayer to roll the ink, coating the brayer in a nice smooth layer of ink. Then roll the ink-covered brayer over your design. Roll it a couple of times to get a good covering of ink.
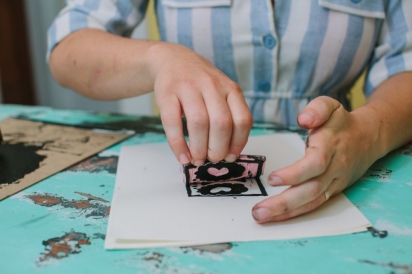
With your paper on a hard surface, evenly press your ink-covered linoleum (now your stamp) onto the paper. Use the palms of your hands to apply even pressure over the whole back of your stamp. Then smoothly lift the stamp off the paper.
Take a look at what you have made! I always love the “reveal,” but it is also the time to see what you would like to change. I often adjust a few lines and take away a few more small lines with my smallest blade in order to add movement and more detail. I love the way the small negative spaces give the distinctive look of handmade prints.
Once you have refined your stamp repeat the printing process onto your desired paper.