Ingredients
- 5 lbs Organic whole wheat flour
- 5 lbs Organic all-purpose flour
- Filtered water or spring water
About this recipe
A simple starter is easy to make at home but, like many good things, it does take time: a week to cultivate the initial starter, then a few days lead time to make bread or other baked goods using what you’ve grown. Once you taste the baked results, you’ll know the investment of time is worth it.
It begins with a community of yeasts and bacteria that make a “culture,” creating air bubbles, acidic smells and a symbiosis of living organisms particular to sourdough starters. Without too much effort, you can draw these yeasts and bacteria into your kitchen (you want them there!) and keep them alive. Breads leavened with sourdough starter are more digestible, with less gluten present after they have fermented. They also have more nutrients than breads risen with commercial yeast.
WHAT YOU'LL NEED
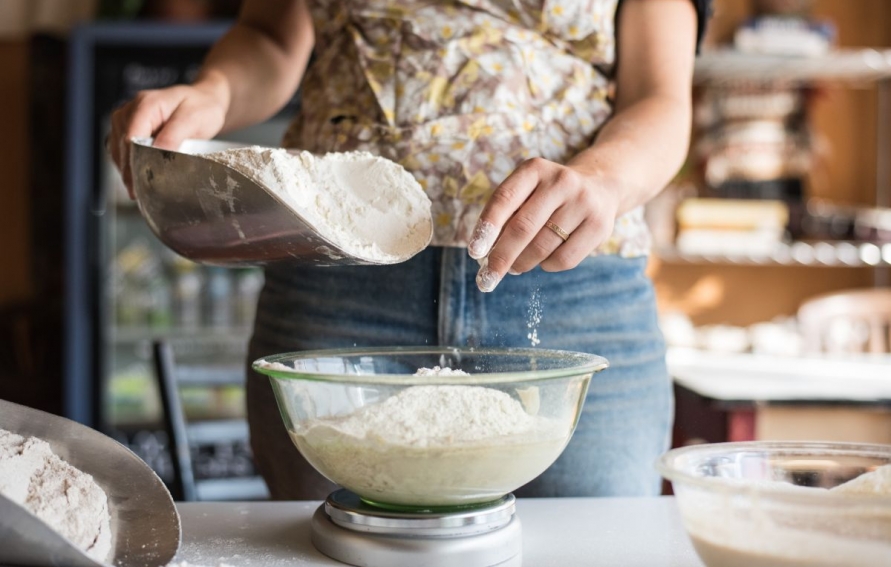
FLOUR: Making a starter takes a week or more, and will then lead you further into baking, so you will need a substantial quantity of both whole-wheat and all-purpose flour. Buy a five-pound bag of each. At Community Loaves, we use organic flour not just for environmental concerns but because we depend on the yeasts that naturally occur on wheat, and we don’t want any chemicals to compromise them.
FILTERED WATER OR SPRING WATER: Until you know whether your tap water affects your starter adversely (chlorination is a big problem), it’s best to use bottled water.
A LARGE, NON-REACTIVE CONTAINER AND LID: A big bowl with cloth to cover it can work, or a large jar or crock. Keep in mind your starter will rise when it gets active, so it needs room to grow.
Instructions
When baking, it is always best to measure by weight and use grams. Volume measurements are also noted, in case you don’t have a scale.
1. In your container mix 250 grams (1 cup) cool water with 125 grams (1 cup) all-purpose and 125 grams (1 cup) whole-wheat flours.
2. Stir until combined, cover loosely with cloth or the lid to your jar and leave it in a warm location (about 70º).
3. Let your starter sit for 24 hours. Sourdough starter is very temperature sensitive, so if you are starting in the winter this process could take much longer if you don’t have a warm spot in the house. If you are starting in the summer, place it in a shady spot where it won’t get too hot.
4. Discard roughly half of your mixture and add another 250 grams (1 cup) cool water, 125 grams (1 cup) all-purpose and 125 grams (1 cup) whole-wheat flours to what is left in your container. Stir until combined.
5. Repeat step 4 every day for the next week at approximately the same time each day. Keep watch for bubbles or air pockets and a slightly acidic smell. An active starter will be an aerated, bubbly, slightly vinegar-smelling mass.
6. When your starter returns to the same level of bubbly activity multiple days in a row, you have done it! Either give your new culture a fresh feed of flour and water then place it in the fridge for future use, or get to baking.
Making your own sourdough starter could take more than a week, so be patient and keep repeating the steps. As long as you are using organic flour and unchlorinated water you will eventually get the active starter you need.

