Socializing Over Seaweed
Ahh, seaweed! Not everyone is a fan upon first taste. We were in that group when we tried it years ago. But it did grow on us, and we have become quite fond of many varieties since.
Not only can you use this beautiful superfood to make sushi, you can eat it as a crunchy snack, make it into a salad, sprinkle it over any dish and use it for soup stock. Hailing from the algae family, it is packed with antioxidants, calcium and iodine, a hard-to-find micronutrient. Before reaching for that “iodized” table salt, sprinkle a little seaweed on it.
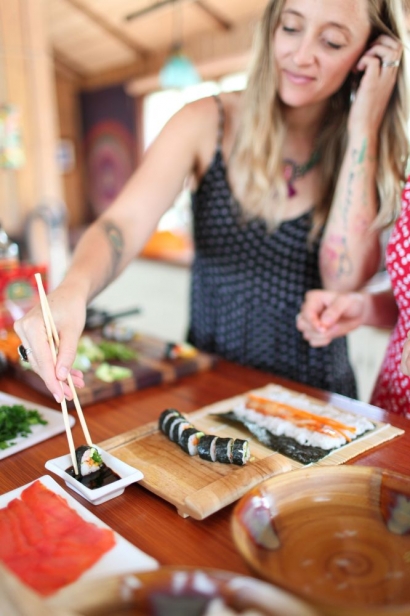
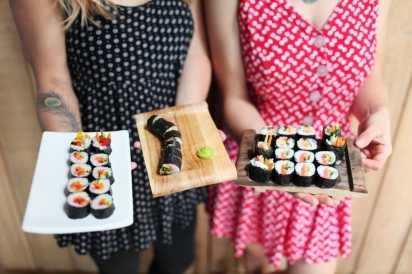
For some hands-on experience with seaweed, consider hosting a sushi party. While you may not be an expert in rolling sushi, this can be a fun evening with friends and family. Over the years, we’ve learned several key tricks to make this kind of gathering a success.
First, simplicity is always the way to go. Delegate ingredients for each of your friends to bring, and you will easily have all-you-can-eat sushi for around $10 a person. Also, keep it small. Big crowds tend to take the zen away from the sushi making process.
Next, use sushi-grade fish for safety and taste. Get to know your local fish supplier, especially if you are nervous about working with raw fish. “Sushi” just means “with rice,” so you can assemble rolls that are vegetarian or vegan, too. Only use short-grain sushi rice. Since it is starchy and absorbent, this kind of rice is naturally sticky.
Finally, and most importantly, have fun! Experiment with different ingredients and get creative. Rice cauliflower in a blender and use it as the rice for gluten-free vegan friends. The only limit to sushi is your culinary imagination.
SUPPLIES & INGREDIENTS
(for a party of 8-10 people)
Sushi rice: 1 pound.
Rice vinegar mixture: For 3 cups of (uncooked)rice, use ½ cup rice vinegar, 2 tablespoons sugar and 2 teaspoons salt.
Rolling mat: One works fine but two mats make for faster rolling and team efforts. For faster cleanup, wrap the mats in plastic before rolling.
Sharp knife
Nori/Seaweed: 2–3 packages with 10 pieces each.
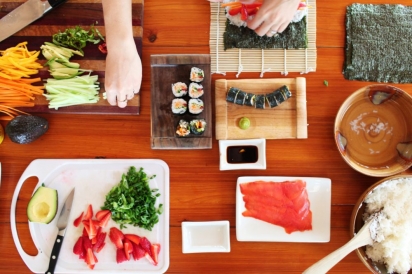
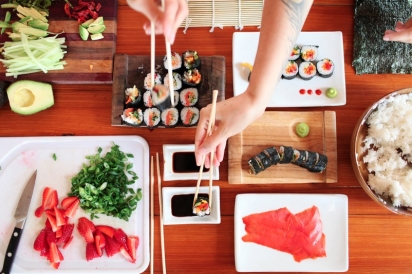
Fish: 1½ to 2 pounds of any combination of fish. If it is raw make sure you get sushi grade from your local fish or Asian market. Suggestions: tuna, salmon, smoked salmon, escolar (white tuna), crab or imitation crab, shrimp, BBQ smoked eel, whatever is in season.
Vegetables/Fruit: 2–4 pounds, 4 pounds if you are making exclusively vegetarian rolls. Suggestions: cucumbers, carrots, scallions, avocados, mangos, strawberries, sweet potatoes, whatever is in season.
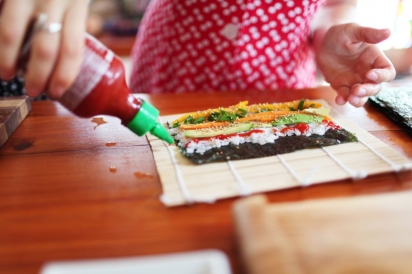
Recommended extras: Wasabi, cream cheese, mayonnaise, eel sauce, hot sauce, sprouts, cilantro, basil, toasted sesame seeds, pickled ginger, roe (fish eggs).
PREPARATION
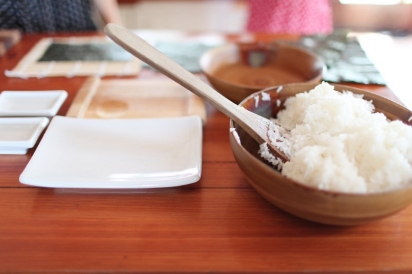
Rice: Rinse your rice well and drain. Stick with a 1:2 ratio for rice to water and cook at a low boil for about an hour. Stir occasionally. Once the water has been absorbed and you have fluffy sticky rice, add the rice vinegar mixture for flavor. Stir and fan until it is cool enough to touch. Cover with a warm wet cloth.
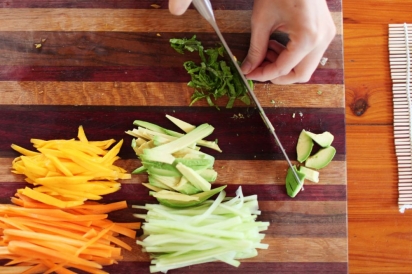
Ingredient Prep: Wash and cut the fish, vegetables and any other ingredients into thin strips or slices and arrange them in bowls or plates for easy assembly.
FILLING & ROLLING
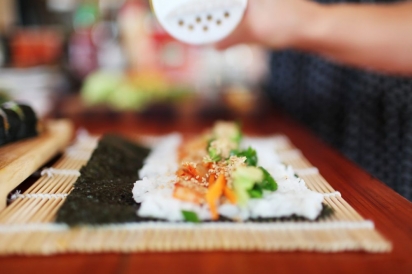
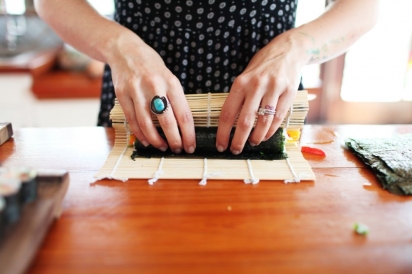
Orient the mat so you can roll in a forward motion. Place the nori on the mat rough side up. Use a whole piece for larger rolls or tear it in half for smaller pieces. Have a bowl of water to wet your hands so the rice doesn’t stick to you.
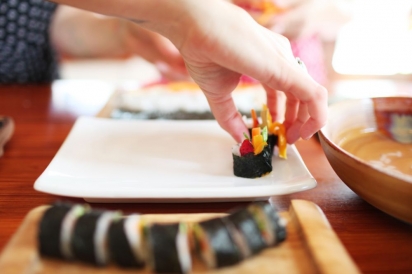
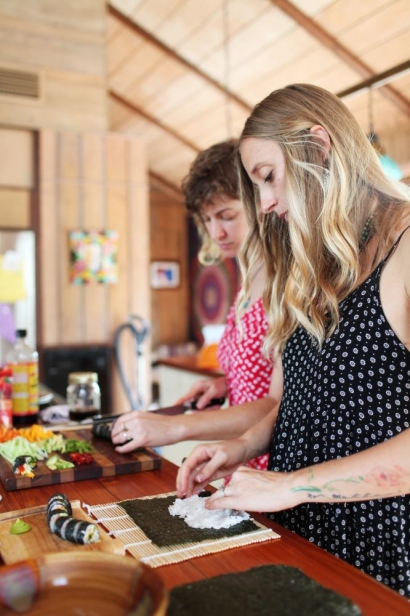
Wet your hands, grab a handful of rice and roll it into a ball. Place the rice ball on the front center of the nori and spread it all the way to the sides and then to the end in a smooth thin layer, leaving the last ½ to 1 inch of nori empty (very important!). Add whatever fillings you like.
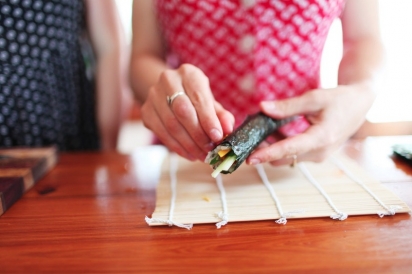
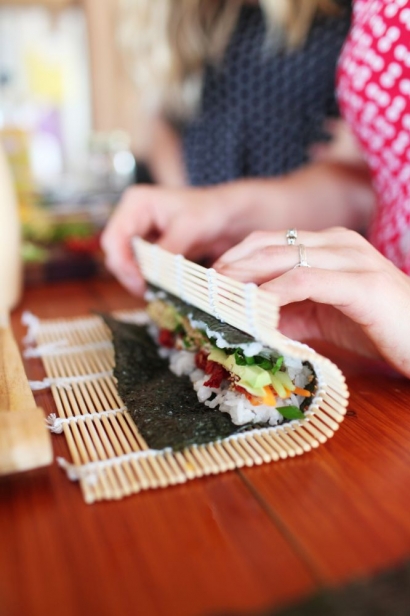
To roll, take the end closest to you and fold it over all the fillings so all you see poking out at the end is the empty nori edge. If you can’t see the nori at the end, you may have over-stuffed your roll. Hold the empty end of the mat flat on the table with one hand and pull your roll tight with your other hand. Now, get your fingers slightly damp and wet the empty nori edge like you would to seal an envelope. Fold the mat back from the sushi and roll it the rest of the way forward.
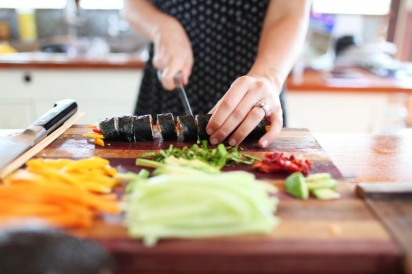
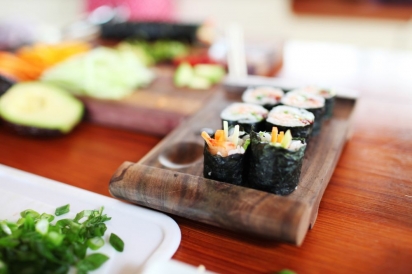
Cut your roll into bite-size pieces, grab your chopsticks, soy sauce (or liquid aminos) and wasabi. Wipe your knife off with a wet cloth often to keep the blade clean and sharp.


